To install WordPress on a Windows machine, you can follow these steps. This guide assumes you’re using the popular web server software, XAMPP, which bundles Apache, MySQL, PHP, and Perl. XAMPP provides a convenient way to set up a local development environment for WordPress.
- Download XAMPP:
- Go to the XAMPP official website (https://www.apachefriends.org/index.html).
- Download the Windows version of XAMPP.
- Install XAMPP:
- Run the downloaded XAMPP installer.
- Follow the installation wizard’s instructions. You can choose the components you want to install, but at a minimum, you’ll need Apache, MySQL, PHP, and phpMyAdmin.
- Start Apache and MySQL:
- Once XAMPP is installed, launch the XAMPP Control Panel (usually found in the XAMPP installation directory).
- Start both the Apache and MySQL services by clicking the “Start” buttons next to them.
- Download WordPress:
- Go to the official WordPress website (https://wordpress.org/download/).
- Download the latest version of WordPress.
- Create a Database:
- Open your web browser and go to http://localhost/phpmyadmin/.
- Click on the “Databases” tab.
- Enter a name for your WordPress database, and choose “utf8_general_ci” as the collation.
- Click the “Create” button to create the database.
- Configure WordPress:
- Extract the downloaded WordPress ZIP file into the “htdocs” folder within your XAMPP installation directory (usually located at “C:\xampp\htdocs”).
- Rename the extracted WordPress folder to something you’ll remember, like “mywordpresssite”.
- Open a web browser and navigate to http://localhost/mywordpresssite (replace “mywordpresssite” with the folder name you chose).
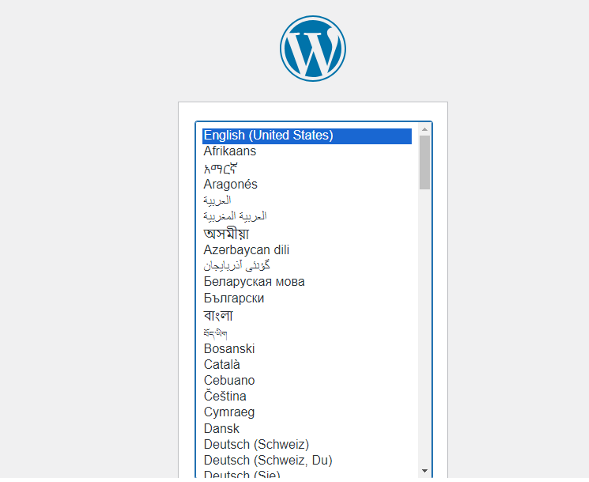
- Select your language and click the “Continue” button.
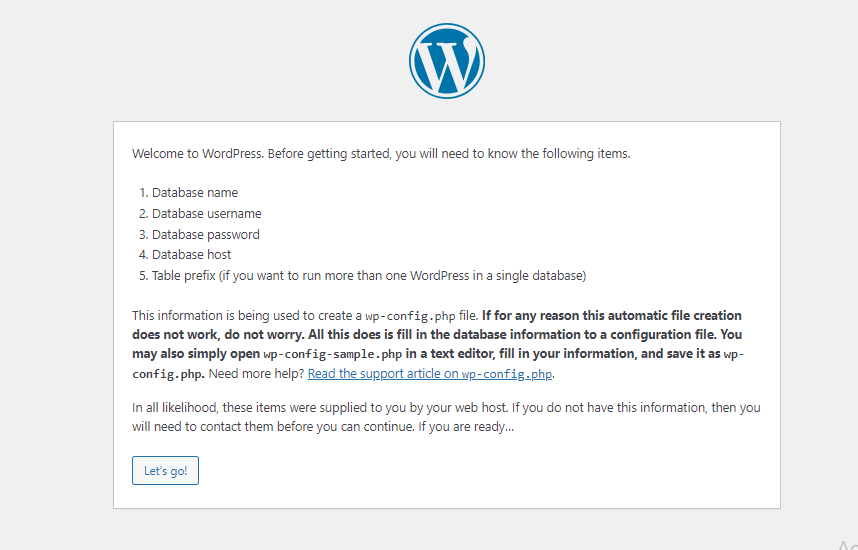
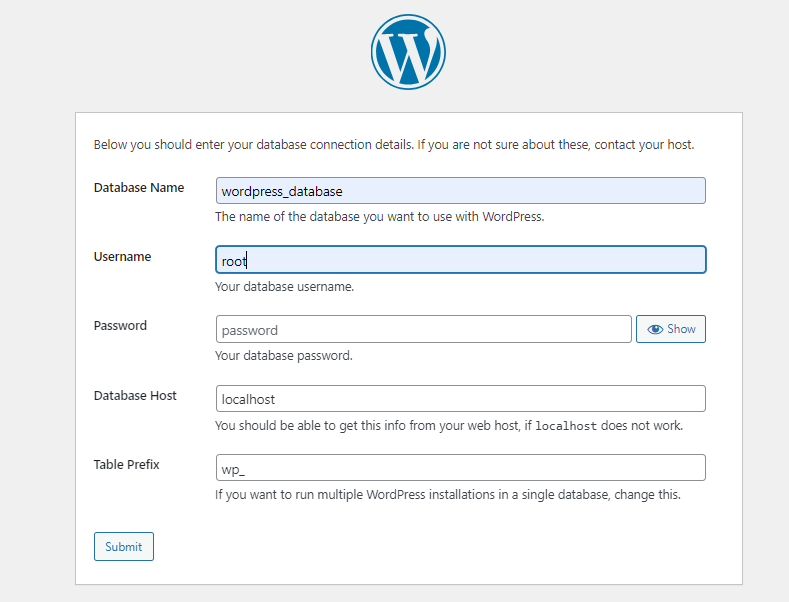
- On the next screen, you’ll need to provide your database information:
- Database Name: The name you chose for your WordPress database.
- Username: Usually “root” for XAMPP.
- Password: Leave it blank or use “root” for XAMPP.
- Database Host: Leave it as “localhost”.
- Table Prefix: You can change this if you want, but the default value is fine.
- Click the “Submit” button.
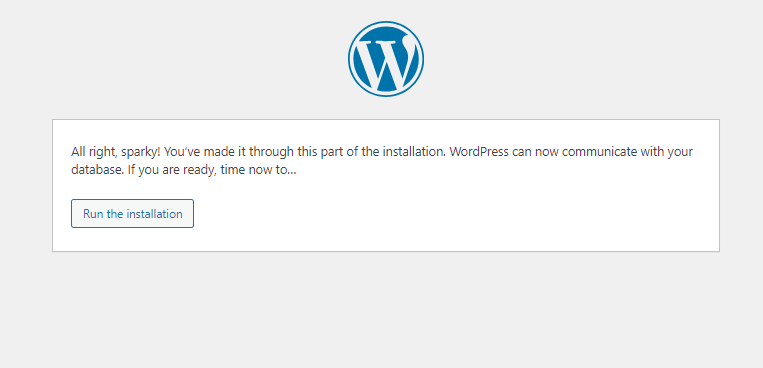
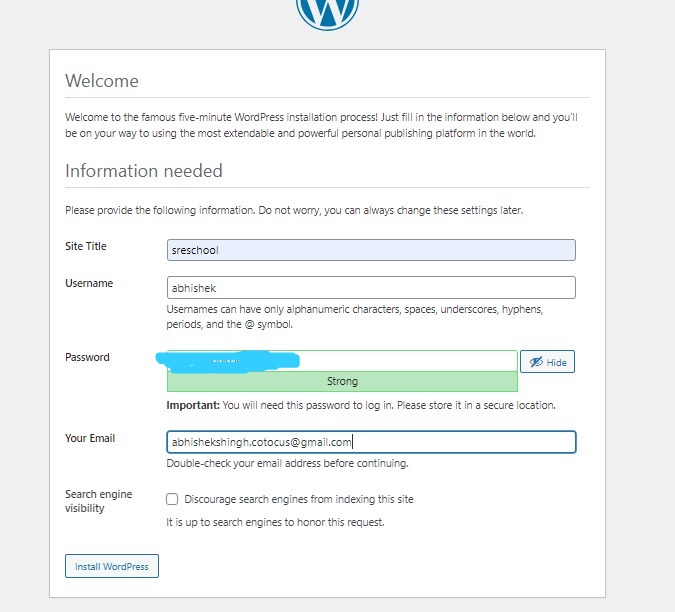
- Install WordPress:
- WordPress will now run the installation process.
- Fill in the Site Title, Username, Password, and Email Address for your WordPress site.
- Click the “Install WordPress” button.
- Once the installation is complete, you can log in to your WordPress dashboard using the provided credentials.
You now have WordPress installed on your Windows machine using XAMPP. You can access your site by going to http://localhost/mywordpresssite in your web browser. Remember that this setup is for local development purposes, and if you want to host your WordPress site online, you’ll need to follow a different set of steps involving a web hosting provider.

I’m Abhishek, a DevOps, SRE, DevSecOps, and Cloud expert with a passion for sharing knowledge and real-world experiences. I’ve had the opportunity to work with Cotocus and continue to contribute to multiple platforms where I share insights across different domains:
-
DevOps School – Tech blogs and tutorials
-
Holiday Landmark – Travel stories and guides
-
Stocks Mantra – Stock market strategies and tips
-
My Medic Plus – Health and fitness guidance
-
TrueReviewNow – Honest product reviews
-
Wizbrand – SEO and digital tools for businesses
I’m also exploring the fascinating world of Quantum Computing.
Best Cardiac Hospitals Near You
Discover top heart hospitals, cardiology centers & cardiac care services by city.
Advanced Heart Care • Trusted Hospitals • Expert Teams
View Best Hospitals
[…] https://www.devopsconsulting.in/blog/how-to-install-wordpress-in-window/ […]